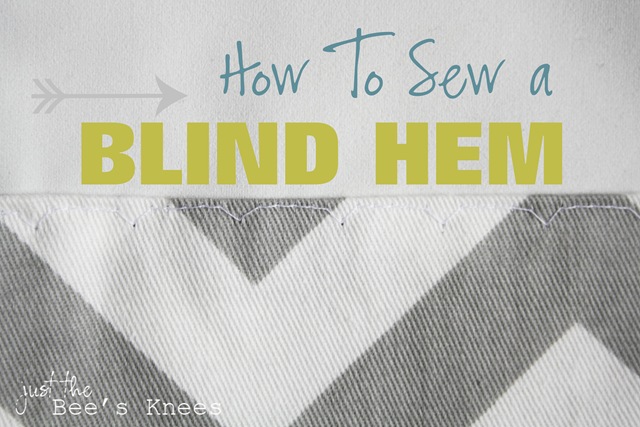
How to sew a Blind Hem in 3 simple steps
I’ve been plugging away trying to get Carson’s room finished, and one of the big projects I had to do was to make him some roman blinds. Let me tell you…this has been the project that never wants to end! I’ve made Roman Blinds before, both operating and fixed like my faux roman shades I made last year, so I figured this would be a quick and easy project for me. Boy was I wrong! Have you ever had a project you’ve been working on that you just kept screwing up?!? That was this project for me. Nothing seemed to be working out well and it was all due to silly hasty mistakes on my part. I had to change my design a bit to fix my “boo-boos” but they turned out even better than my original plan, so all is good in my world again! (I’ll be sharing the finished product soon:)
When I finally go the blinds about 90% complete and was ready to hem them, I wanted to stitch the hem to the lining instead of using hemming tape (which I usually use) to make them a little more secure. (They are going in a 3 year old’s bedroom. ‘Nough said.) It’s been a year or two since the last time I used the Blind Hem stitch feature on my sewing machine and for some reason, when I sat down to use it, I had a complete brain block and couldn't for the life of me figure out how I did it the last time! Has this ever happened to you?! Please tell me I'm not alone. After a few minutes of reading my hopeless sewing machine manual, studying the last set of blinds I made and practicing with a few scraps, I finally figured it out. So just in case this has happened to you, (or if this ever happens to me again and I need a future reference…and it probably will) I decided to put together a quick little tutorial to help you (and me) out.
This tutorial is created for the use of drapes/blinds to be hemmed with a lining, but you can follow the same steps without a lining as well.
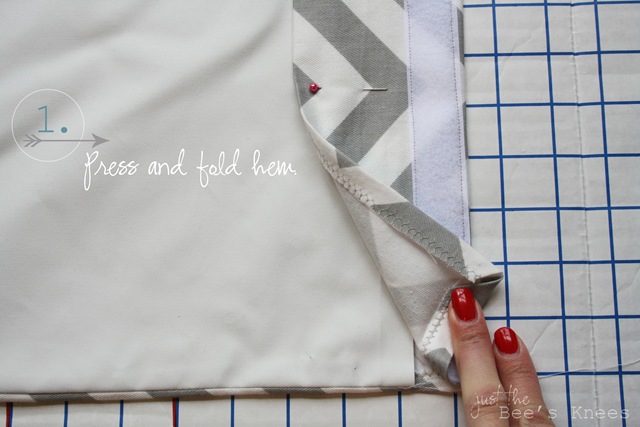
Step #1. Press and fold the hem. Pin in Place.
Fold up the bottom & sides of raw edge of fabric 1/2” and press. (I like to overlock my seams for added security against fraying, but you can also just fold and press 1/"2” again if desired.) Then fold and press up the hem in the desired length as shown so it is overlapping the lining. Pin in place.
(Disregard the velcro strip in the picture….I had to hem both the top and bottom of my blind and this shot just happens to be the top where I am attaching the blind to the window.)
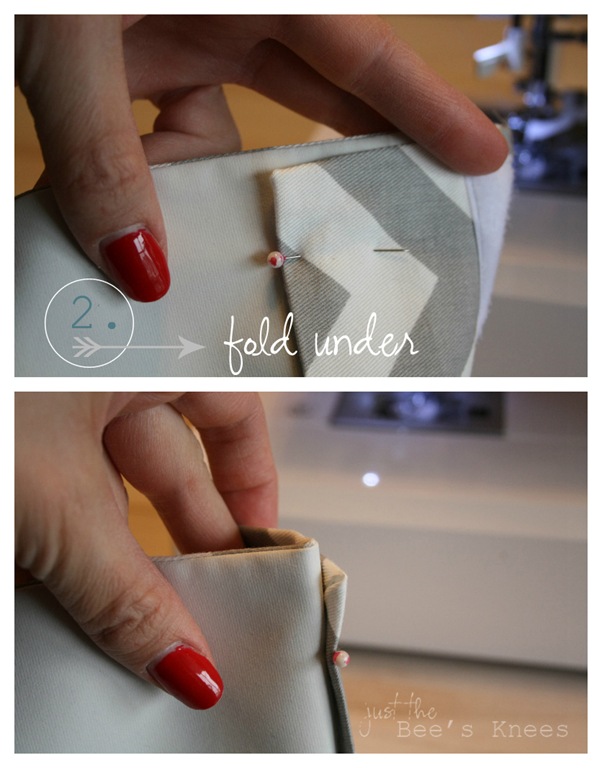
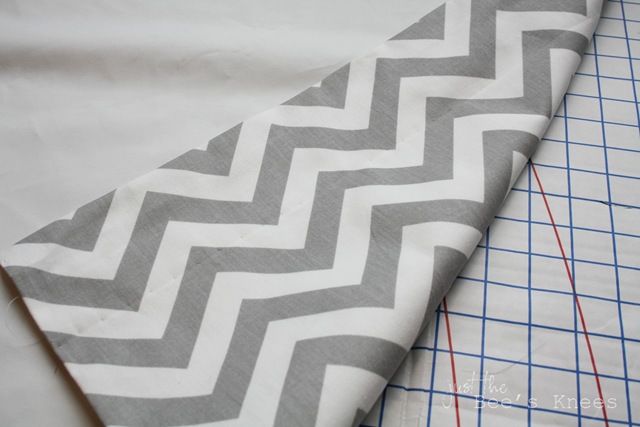
Fold the hem under as shown leaving about 3/8” ~ 1/4” of the bottom edge visible. (That would be the chevron fabric on my blind.)
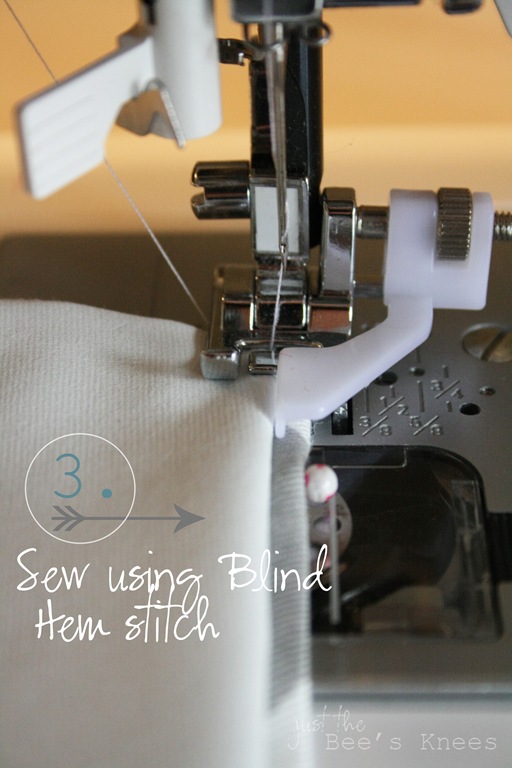
Step #3. Stitch hem using the blind hem stitch
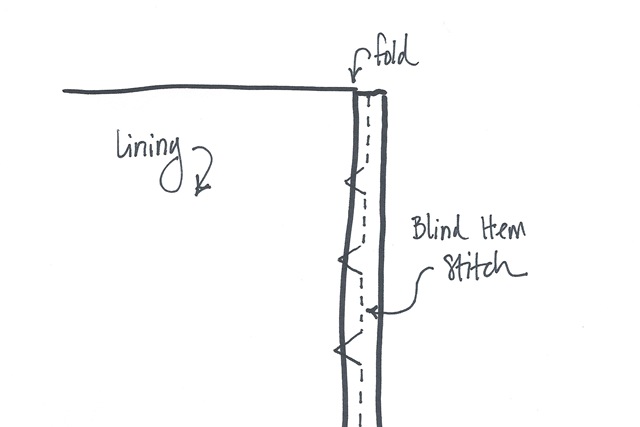
Use the blind hem stitch on your machine to stitch the hem. The way this stitch works is the majority of the stitching should be on the right side of the fabric (chevron) and just the tip of zig zag part of the stitch should pierce the edge of the fold on the lining. (White). My machine comes with a handy-dandy blind hem foot, but take a look at your manual and use whatever foot they suggest.
It was hard to get a good photo, so I made a quick sketch to get a better visual of what the stitch should look like:
I HIGHLY recommend doing several tests on a scrap piece of fabric to ensure you have the right settings for stitch width and length as every machine is different.
When you are done, this is what the back of the hem will look like:
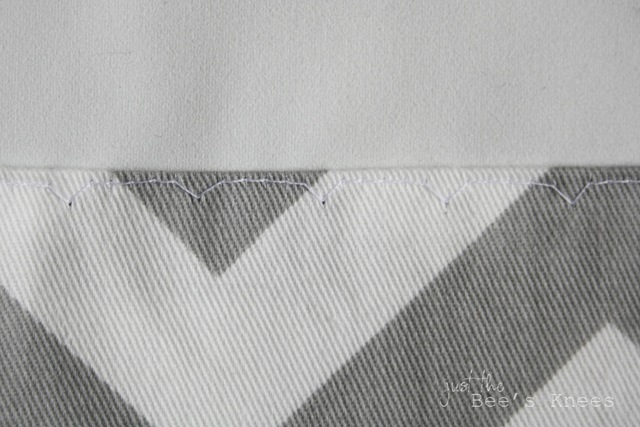
The stitching on the front will be barely visible. If you have a line from where the fabric was folded, simply steam it out.
And there you have it! A super quick and easy way to hem your window treatments with polished, professional results.
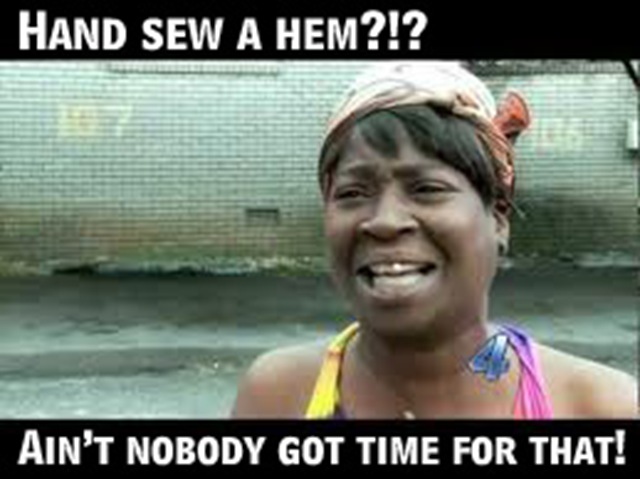
And I’m all about taking shortcuts to save time without compromising quality. As Sweet Brown would say…..
Sharing with:
Hookin' Up with House of Hepworths @ House of Hepworths * Transformation Thursday @ The Shabby Creek Cottage *Live Laugh
Thursdays @ Live Laugh Rowe * Happy Hour @ Craftberry Bush, Crafty, Scrappy Happy & Design, Dining & Diapers * Flaunt It Friday @ Chic on a Shoestring
Decorating * Frugal Friday @ The
Shabby Nest * Friday Flair @ Whipperberry
* Frugalicious Fridays @ Finding Fabulous * The Humble Brag @ One Project Closer * Weekend Wrap-up Party @ Tatertots & Jello *
